John’s Photography

Some people take photos of what their camera sees. I take photos of what my mind sees. Some are ordinary photos some are not. Browse often. Things change.

1975
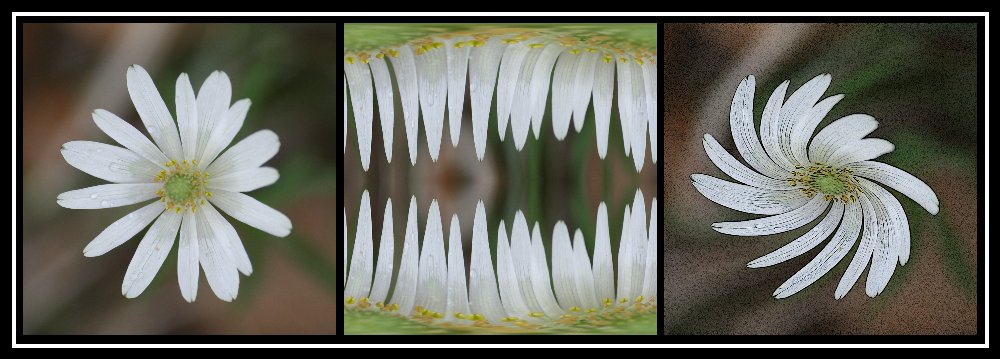
One flower - three different ways.
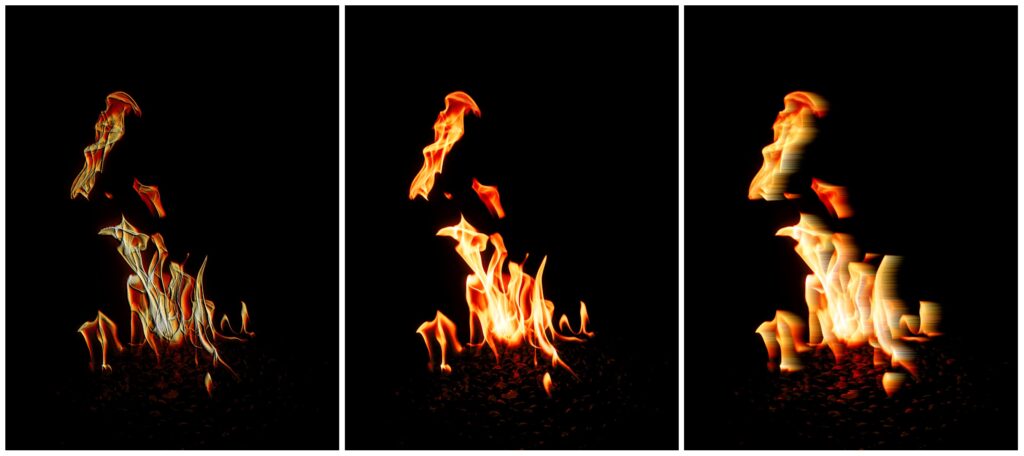
Fire comes in many forms.
Oops - a monarch is what color?
Nope, I am not changing.
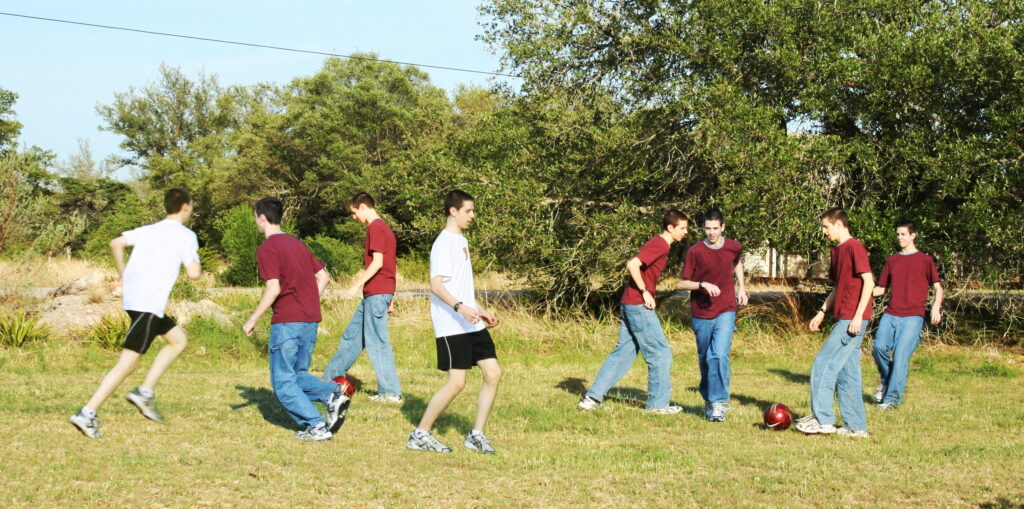
Soccer teams have 11 players

GIMP – Make a Marble Cam Photo in GIMP

Several years ago someone showed me a an interesting app they had on their phone. The results were interesting but not enough to get me to invest in an iphone. I love my Pixel and and the camera and would never settle for an iphone just to get an app. Anything that can be done to a photo can always be done better in GIMP so below are the instructions.

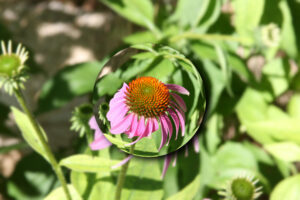
I’m using GIMP 2.10.20 which is the latest version at the time of this writing. I tried to write this very generic so that if your version is different you can still follow along.

1 – Make a copy of the original in the layer manager

You will need the original in a future step so be sure to do this. Making a copy is just something I always do in the layer manager. Not that bad things will happen to you but I seem to go blindly into the “cavern of no return” so having an exit strategy is always my first step.

2 – Go to Layer / Transparency – add alpha channel

Be sure you are on the new copied layer in the layers window. If you already have an alpha channel this will not be available and you can skip this step.

3 – Filters / Distorts – lens distortion
main & edge at 100%
zoom -3

Everything else on this filter panel you should be able to keep the same.

4 – Repeat step 3, 4 more times.

You will need to do this 5 times to get the proper effect.

5 – Use ellipse tool to select the image – you can select either a circle or an ellipse

I’ve obviously done this many times and I’ve discovered if your picture is square then a circle is often the right way to go. However, if you have a standard photo, either landscape or portrait, then an ellipse will often look better. It really depends on the subject of the photo and the orientation of the picture.

6- Go to Select Invert

You are going to get rid of everything outside of your selection so you are inverting the previous selection.

7 – Edit / Cut

Getting rid of everything outside of the selection.

8 – Copy this layer and call it Marble

9 – Copy Marble layer and create a layer mask – white full opacity, Call this Highlight

10 – Select the layer mask / flip the color to black and fill the outside of the marble with black

11 – Go to Select None

12 – Go to background and filters / blurr / goussian blurr = 20

13 – back to marble layer and make a shadow – use filter light & shadow / drop shadow / shadow parameters:
20 20 30 80

14 – duplicate layer with the marble and layer mask
make everything transparent
use gradient white to transparent and make the upper left white

15 – duplicate the above layer and switch to black
make the image all transparent
and do the lower right cornewr with the black

16 – change transparency of the above 2 layers

17 – Optional Filter / Light & Shadow / Supernova
Photos and Learning the Web Editor

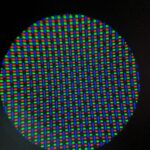
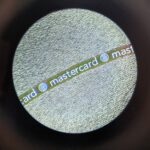
This first photography post will be an introduction to some of the microscopy photos that I’ve taken with my Google Pixel 2 cell phone. This post will also serve as practice and demonstration of the capabilities of this site’s web editor. [Design inconsistencies will be intentional]


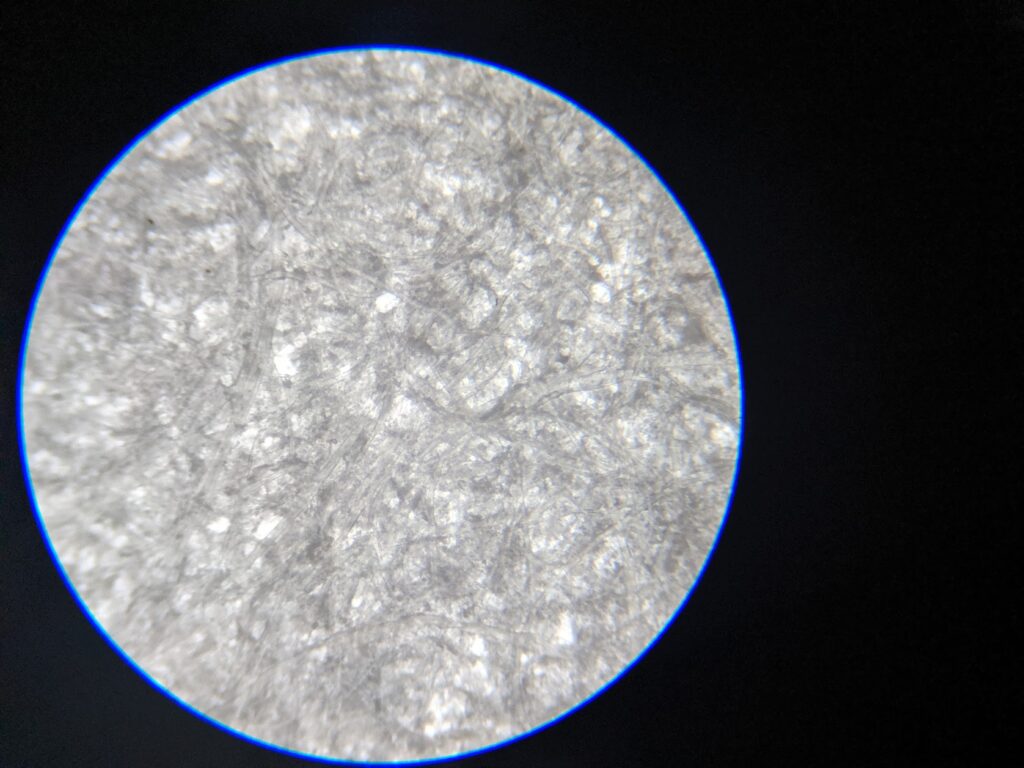
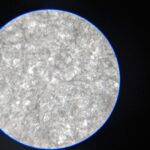
Printer Paper Under the Microscope

A blade of St. Augustine grass at different magnification under the microscope.

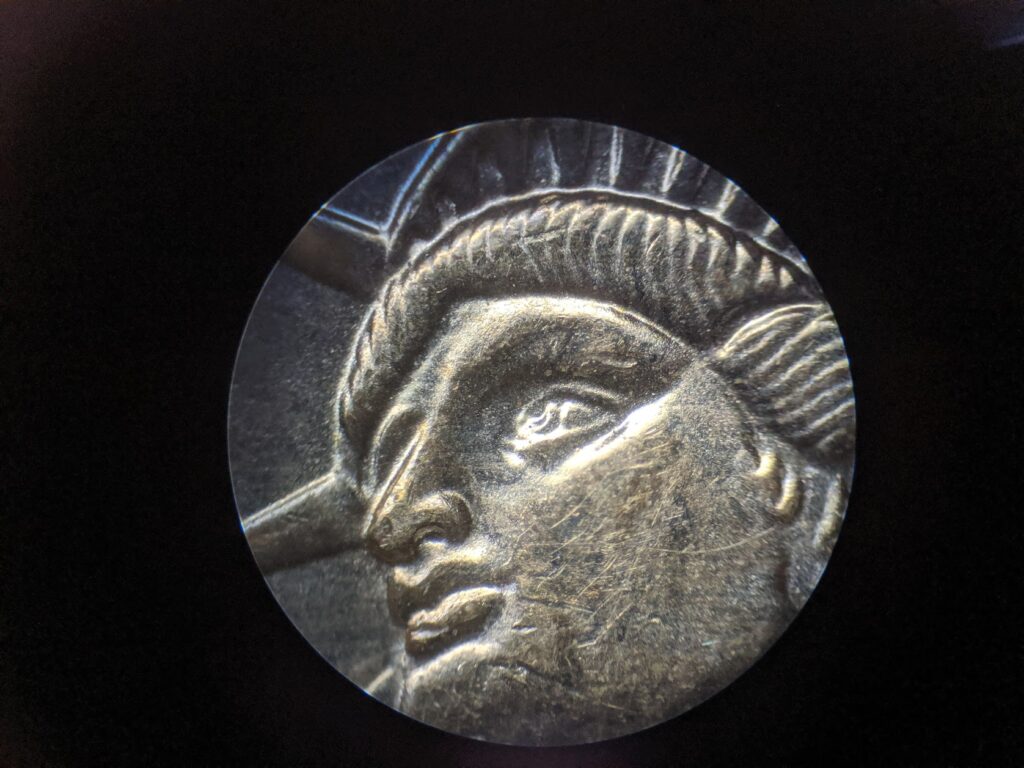
Lady Liberty on a U.S. Coin

Always neat to capture video of microscopic life. That's just an air bubble.

Eventually I have plans to buy a real camera and properly mount it on the 3rd eye piece of my microscope. This will allow me to capture centered images in higher detail. This page will remain a work in progress as I play around with the web editor.

Journey of a Lifelong Learner… And You Can Too

Hello Internet.

Today we are going to talk about being a lifelong learner. I didn’t always consider myself to be this way, and (ironically) I didn’t get into the act of being a lifelong learner by learning about it beforehand. It all started for me in, what I call, the ‘Stupification’ of television that began around the mid 2000s. Niche cable channels (Discovery, History, Weather channels, etc.) began dipping down into the lowest common denominator of society in search of any eyeballs they could attract with shiny graphics and bright colors. This led to a financial analysis that caused me to adjust my entertainment priorities.

The year was 2009. Economic despair ran rampant. Storms were being chased in a large metal turtle, but icebergs were not yet being hunted. I had just purchased my first home, and like many running the “Amazing Race” of life, I wanted to be a “Survivor” (but not watch any of that garbage). I sat down to examine my budget and realized that one of the largest slices of the pie was cable television. This begged the question: “Do I really need that?” In my analytical way, I went to my DVR and wrote down the list of all the shows I was recording. Turns out I was watching WAY too much television. Of those shows, about 70% of them were from the over-the-air broadcast stations anyway. I could record over-the-air shows, buy the cable shows on DVD, and save around $700 per year. [Hint: I never bought a single season box set of any show and saved another $350]

So what, Steven? You just abandoned your favorite cable shows and sports? Well yeah, and here’s why. Content will always be consumed in the cheapest and most convenient way by people who are cheap and lazy eh, efficient. As far as television shows went, it was just cheaper and more convenient to find shows on broadcast that I thought might be interesting. Turns out, the shows that were the most interesting were the ones where my mind was engaged and I was learning something (even if that something had no practical use in my life). Soaking up knowledge became an obsession. I got to the point that I couldn’t waste time in the car listening to the same songs over and over again, so I picked up podcasts to listen to on my commute.

In 2015, technology would change the way I would consume information. Nvidia came out with their Shield Android TV set top box. This put all types of content into one place. It let me watch recorded shows off my DVR, listen to music and podcasts, watch Netflix documentaries, and not least of all it had a Youtube app! Don’t get me wrong, there is worthless inaccurate trash on Youtube (mostly about politics). There is also a large number of subject matter caretakers that are passionate about the field they cover. There is a channel on any number of subjects: Flying, sailing, wine and beer making, video gaming, technology, liquifying metals at high temperatures. Anything you can be interested in and want to learn more about is there.

As I said earlier, convenience is key. If all of that content wasn’t right there all in one device, if you had to switch back and forth between multiple places, you’d be far less likely to explore new things.And that’s the takeaway, you have to be an explorer of your world.

This won’t be a traditional conclusion. A blog about lifelong learning shouldn’t have a proper end because there is really no end to lifelong learning. I’ll always be adding to this journey, and that’s the excitement of it all. There are things and hobbies that I’m interested in that I wouldn’t have given a second thought about just a few years ago.

Steve Out!